Cart
890,00 EUR
Subtotal
Customizable for maximum flexibility
Our trays
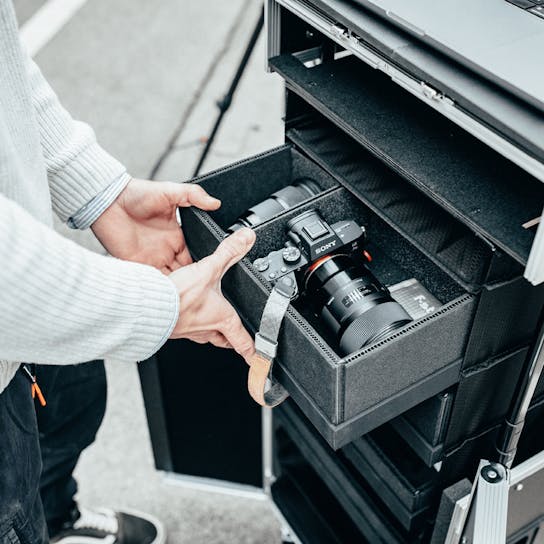
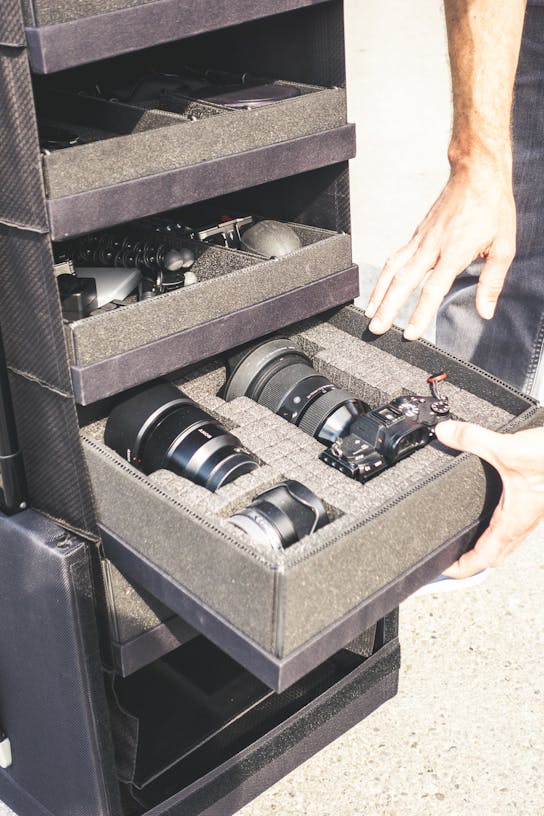
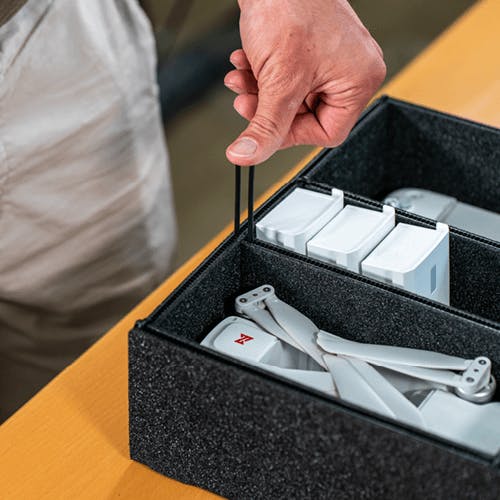
The Pull Up Camera Case comes with customizable trays that you can pick and choose depending on your workflow and the type of equipment you use. Camera gear comes in many sizes and depth but we already thought about everything. Each item will fit perfectly in the space designed for it and will be protected by the foam material which the trays are made of.
Always organized & 100% protection guaranteed
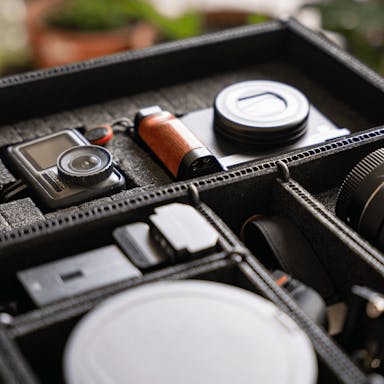
It is very easy to set up the trays in your own preferred way with the dividers and brackets. Lenses and bodies are best stored in the high trays. Small and light things in the low trays. The clear separation of your equipment keeps your gear tidy and within easy reach. And if your equipment changes, you can quickly adjust the trays.
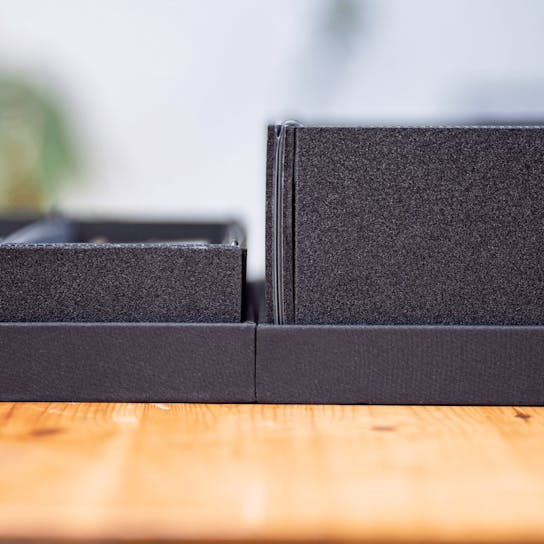
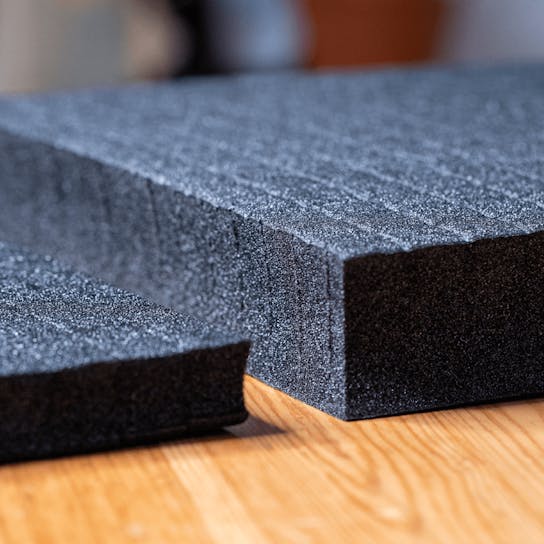
Trays: 5cm & 10cm (1,96" & 3,93")
Foam: 2,5cm & 5cm (0,98" & 1,96")
The Pull Up Camera Case offers plenty of room for all your camera gears.
You can make sure your camera and its accessories are protected all the time, no matter the bumps on the road. Some photographers already know the cons of bad transportation. We aim to avoid them!

Trays: 5cm & 10cm (1,96" & 3,93") | Foam: 2,5cm & 5cm (0,98" & 1,96")
Two different tray & foam heights
To assemble our trays you only need a sharp knife and our clamps. We show you step by step how to proceed:
How to assemble the trays
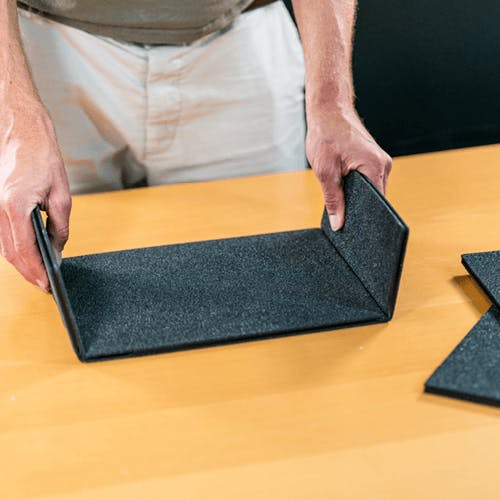
Fix frame
First open the two wings, place the matching dividers between the two wings and fix them with 2 clamps.
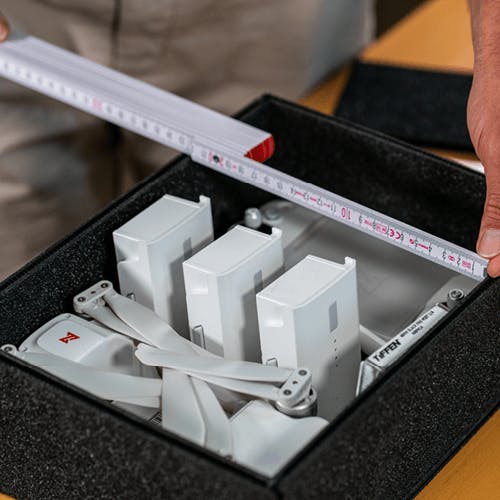
Create rough layout
Now you have the frame and can place the products in the empty tray and measure at which positions and in which length the inserts are needed
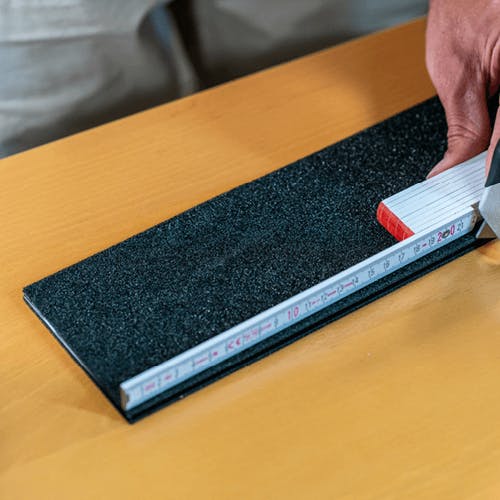
Cutting inserts
Now cut the dividers with the help of a carpet knife on a stable surface
Fixing the clamps
Now fix the dividers at the desired positions with the clamps
How to use the foam
Fix frame
First open the two wings, place the matching dividers between the two wings and fix them with 2 clamps
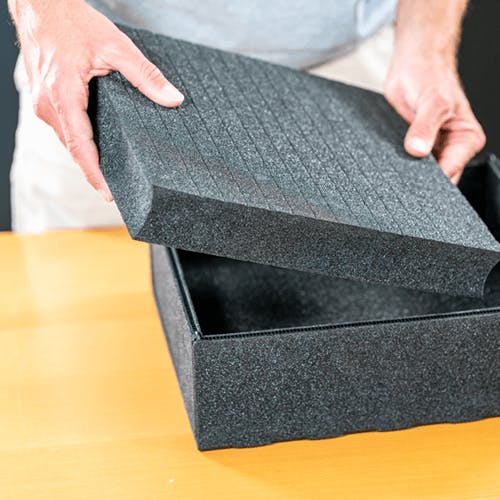
Inserting the grid foam
Fill the tray with foam
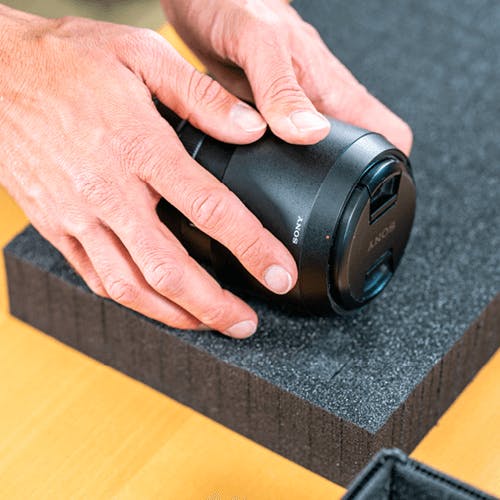
Create layout
Create a rough layout as described above
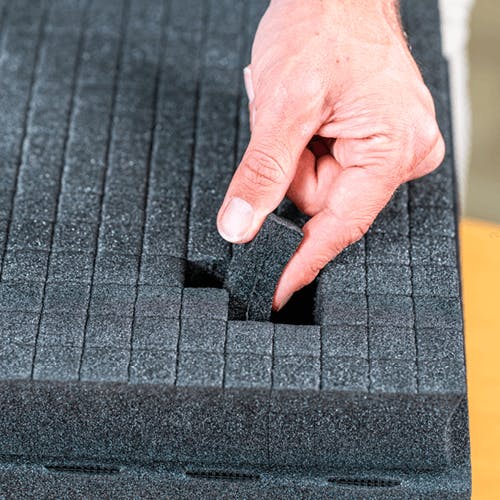
Detach the grid foam
Now carefully cut out the foam blocks by hand